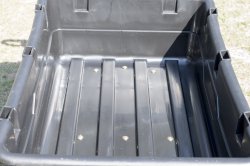
Bought a fresh cart to mix concrete in. They are waterproof, hold 1200 pounds, can be pulled behind the Deere and dump. But they have channels in the bottom.
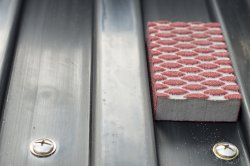
80 grit sanding pads to rough up the surface
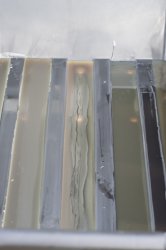
Fiberglass resin dumped to fill the channels.
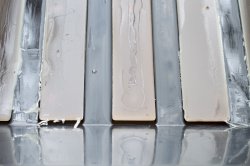
Did not count on the resin shrinking and pulling away. Hmmm. Must re-think how to flatten the bottom of the cart.
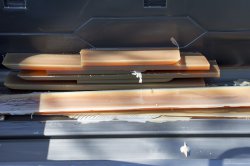
As expected - the resin came out in full, neat pieces.
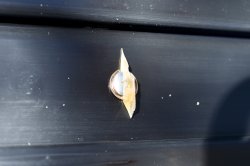
It did adhere to the bolt heads, which is why some of the pieces broke very neatly as I pulled them out.
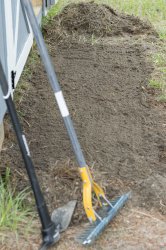
Grass and roots cleared for the step for the shed and my two favorite tools for clearing grass - a mattock to lift the grass and roots and a thatching rake to level.
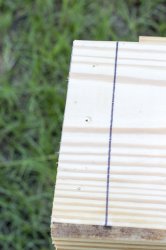
Width of the 2x4 marked and pilot holes drilled.
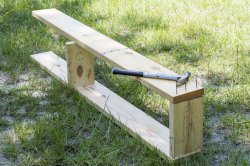
Setting up to nail the form together.
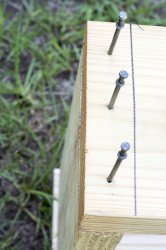
Everything lined up.
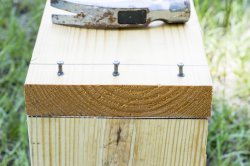
Duplex nails driven into their stops. These nails are designed for temporary frames and the nails can be easily removed.
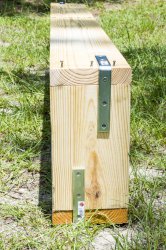
L-brackets on each corner for extra strength.
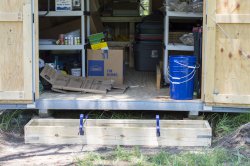
Form in place. It is a 6-foot span and concrete is heavy. I used 2 clamps to (hopefully) prevent the weight of the concrete from bowing out the middle of the form.
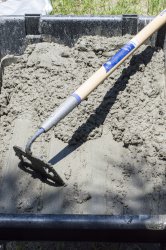
First bag mixed. The cart worked very well even with the grooves in the bottom.
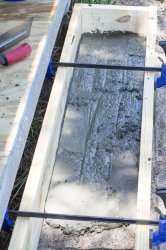
First bag poured into the form.
I used a gallon pail to scoop out of the cart and pour into the mold.
I used the trowel to push the concrete into the corners and sides and sorta jiggled it to (hopefully) settle the concrete into the corners and edges.
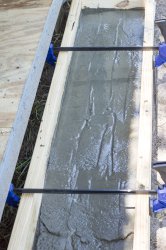
Third bag poured into the form. This is half of the concrete. Looks like I better prep a couple of paver molds.
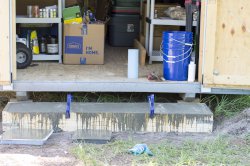
6 80 pounds bags of concrete was enough for a 6x1 foot form 8 inches high plus 2 paver molds plus not enough to do anything with.
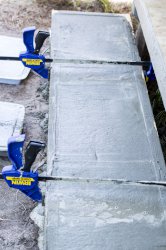
Not professionally smooth, but good enough to be a step. Now we will see how many pine cones the tree throws on it.
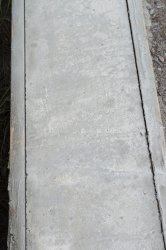
2 weeks in the form should be enough. It is pulling away from the side of the form :-)
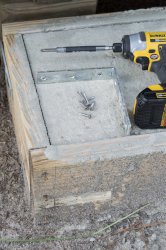
Removed the brackets from the front sides
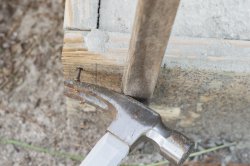
A stake for added leverage - you want the pull force to be straight to the nail for easiest removal
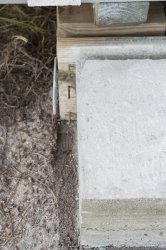
Remove the front form board and the side screws from the rear brackets. Since I can not get to the nail in the rear board, a pry-bar removes the side boards.
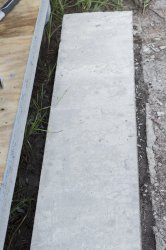
Wiggle the rear board out and the I have a step :-)
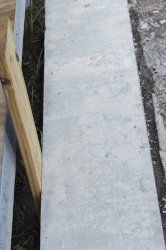
Verifying that I left enough clearance to make the back of the step - I did :-)
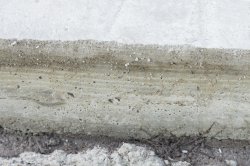
Apparently 2 weeks is long enough for the concrete to take on the pattern of the form board. Which I think turned out kinda cool
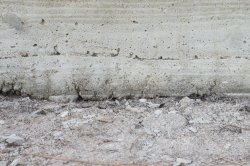
I should have made the first batch wetter to avoid an obvious transition between batches. I do not think it will fall apart - live and learn.
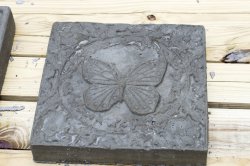
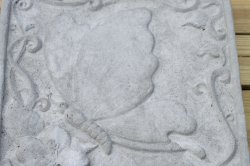
The butterfly paver. Still looks pretty wet. But it came right out of the mold - like a Bundt cake :-)
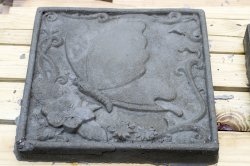
The dragon fly paver. 2 days to cure should have been correct extrapolating from the directions on the bag.
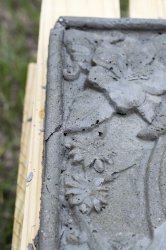
Visible cracks in the ridge

Not just a crack :-(
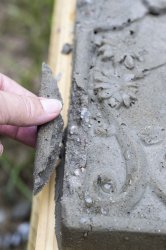
Two pieces came off. Not sure if I didn't pack the concrete in well enough, not enough mold release, or still too wet and fragile when I released them.

Dragon fly detail - not perfect.
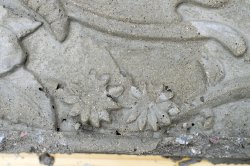
Dragon fly detail some more.
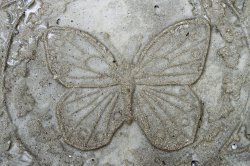
Butterfly detail. A little sandy in areas and smooth in others. I am sure there is a fix for that. But as long as they do not crumble as they finish drying, I am happy with my first attempt :-)
Dragonfly paver at 2 weeks - me thinks it is ready to paint...
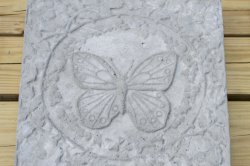
as is the butterfly paver