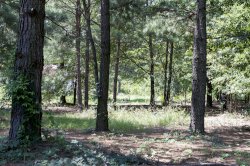
The bright spot is where the covered area will go. I have 2 pergolas on the way.
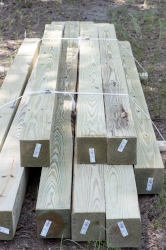
Pressure-treated 6x6s (8 foot and 12 foot) to border the stone that will be under the pergolas. These things are HEAVY :-(
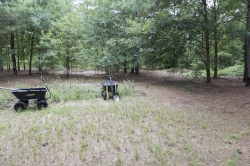
Need to prep where the pergolas will go. Step 1 - stump removal.
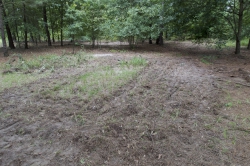
Tilling the ground so it can be leveled. Slow going with having to stop every 2 feet and dig or axe out roots.
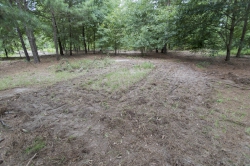
As much as I could do today. I know it is wide enough, it may not be long enough.
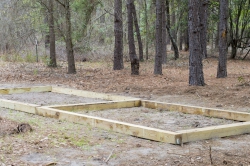
Laying out the borders. Not perfectly flat but close enough. Lets make it permanent...
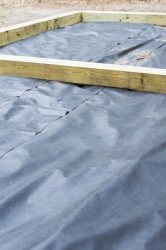
Weed blocker down. I rolled each of the borders outwards a quarter turn, put the weed blocker from board to board, and then rolled each border back. So the weed block is fully under the boards.
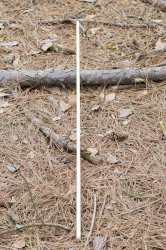
To keep me from moving the borders while doing the stone (and mowing, and walking) I am going to peg them into the ground. Half inch dowel, 4 foot long.
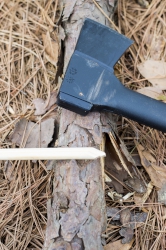
Chopped the dowel in thirds and gave each piece a rough point.
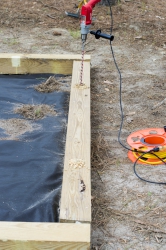
Drill 9/16 inch holes into the borders. Two each for the 8 footers and three each for the 12 footers.
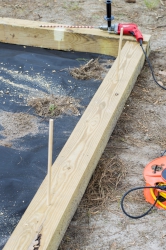
Start the dowel pegs ...
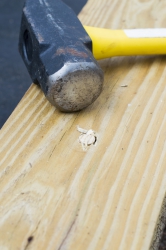
... and whack them flush into the ground.
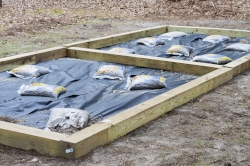
Throw bags of rocks around enough to keep the weed blocker from blowing around. The middle width border is not in its correct spot but is there for maintaining width.
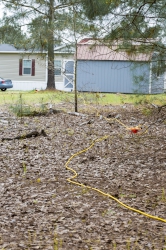
Always buy good extension cords. They are expensive as hell but they let you do stupid things like run a 1/2 inch drill 200 feet from the house to put holes into pressure-treated 6x6s :-)
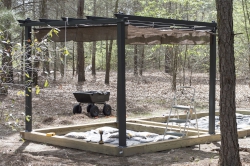
First pergola up.
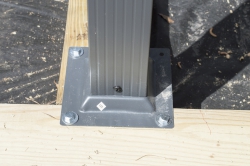
Each post is anchored into the 6x6s with 3/8" x 1 1/2" lag screws. That should be sufficient and it helps to anchor the 6x6s together.
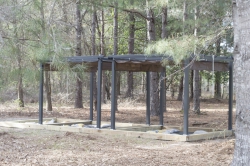
Both pergolas up and anchored down.
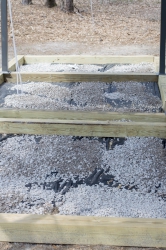
I calculated everything else well. Except how much rock I would need to give me a first layer. I was horribly short :-)
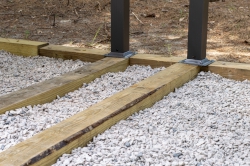
Got more stone.
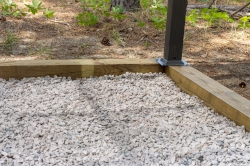
Now to decide if i finish with this or something prettier
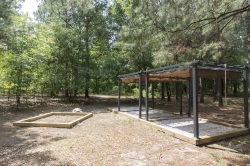
The first of two islands. One for the fire pit and the other, which will be in front of the first, for the grills.
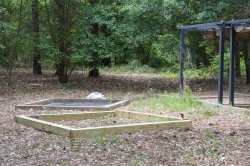
Second fire area blocked out. First fire area cleared and weed block down
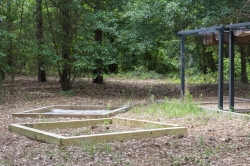
Enough rock in the first fire area to keep the weedblock down
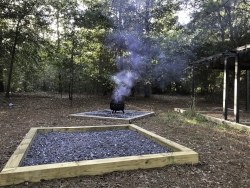
Second fire area cleared, weedblocked, and partially filled. The far one has the least tree canopy so it gets the firepit. The near one will be for the grills.
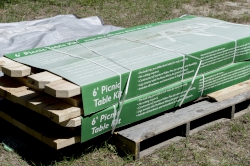
Three picnic tables from Lowes - ready to be stained and assembled.
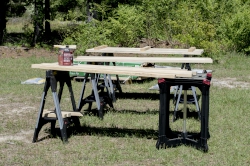
The first picnic table on the sawhorses. I had ordered stain with everything else but it wasn't scheduled to come until 2 days from now. Not wanting to waste a perfect weekend to stain, I bought another gallon, but Home Depot does not carry everything in store they carry online.
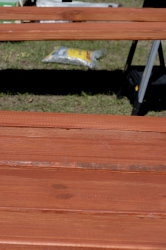
It has been a while since I have stained wood. But I do not remember it going on like, and covering like, thin paint.
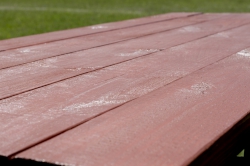
It will work - a bit brighter red than I was expecting, but it will still look good under the pines.
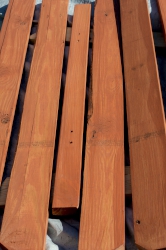
Two table parts stained and ready to put together.
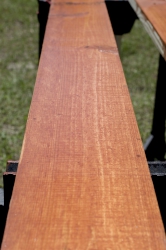
That night, the stain I ordered came :-) This was how I remembered stain.
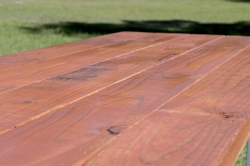
Smells like paint thinner and goes on like water. The first coat absorbs into the wood. And it still looks like wood.
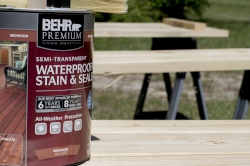
Note to self and others: Behr "stain" is really just...
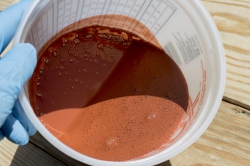
Thin paint - notice how the bottom of the bucket is relatively thickly covered compared to...
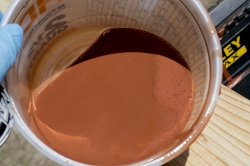
an actual stain
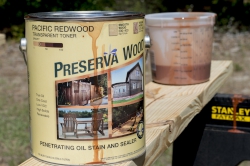
For future projects, this will be the stain I order (unless I can find some place that carries it locally).
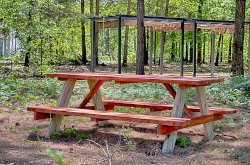
Nope. I did not stain the legs. They are treated lumber. But I will be staining the legs. My reply of "they are art-deco" was not accepted :-)
Scenic shot
Scenic shot